How to attach metal legs to a wood table top?
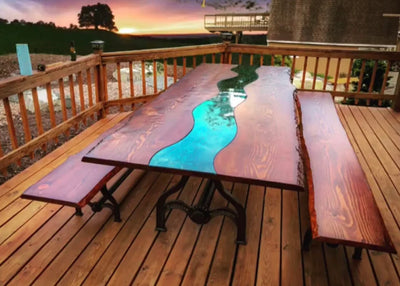
Adding metal legs to a wood table top is a relatively easy process that anyone can do with a few simple tools. With the right supplies and a little bit of know-how, you can attach metal legs to a wood table top in just a few minutes.
Supplies needed:
- -4 Metal table legs
- -8 Washers
- -8 Bolts (length will depend on thickness of table top)
- -Drill
- - Drill bit the same size as bolts
- -Sharpie
- Place the metal legs upside down on the ground so that the ends that will be attached to the table top are facing up.
- Using the sharpie, trace around the circumference of each leg onto the wood table top.
- Remove the legs and drill a hole inside each of the sharpie circles. The holes should be just big enough for the bolt to fit through.
- Place a washer over each bolt and then thread the bolt through the hole in the leg and into the hole in the table top.
- Tighten each bolt until the leg is securely attached to the table top.
- Repeat steps 1-5 for the remaining three legs.
Your table is now ready to be used!
Leave a comment