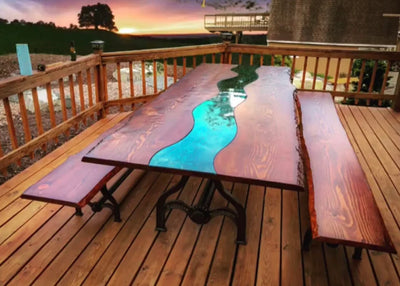
How to make a metal table leg?
If you have a metal table that needs a new leg, or if you're making a table from scratch, here's how to make a metal table leg. This project is simple enough for anyone to do, and you can customize the design to match your table.
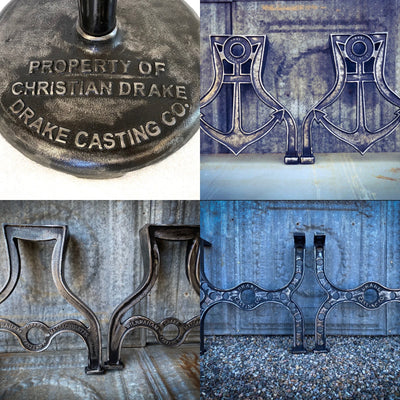
First, gather your supplies. You'll need a length of metal tubing, a table saw, a drill, a tap and die set, and some welding equipment. If you don't have access to welding equipment, you can also use rivets or bolts to attach the leg to the table.
Next, cut your tubing to the desired length. If you're making a table from scratch, you'll need to decide how tall you want the table to be and then cut the tubing accordingly. If you're just replacing a leg on an existing table, you can measure the old leg and cut the new one to the same length.
Once the tubing is cut to size, use the table saw to cut a slit down the length of the tubing. This slit will hold the table top or tabletop surface.
Now it's time to drill holes for the attaching hardware. Drill a hole at each end of the slit, and then drill additional holes spaced evenly along the length of the slit. These holes will be used to attach the leg to the table top.
If you're using rivets to attach the leg, you can now do that. Just rivet the leg in place following the holes that you drilled. If you're using bolts, you'll need to tap the holes first. This will create threads in the holes so that the bolts will screw in place. Once the holes are tapped, bolt the leg in place.
Finally, if you're using welding to attach the leg, you can do that now. Just weld the leg in place following the holes that you drilled.
That's it! You now have a metal table leg that can be attached to a table top or tabletop surface.
Leave a comment