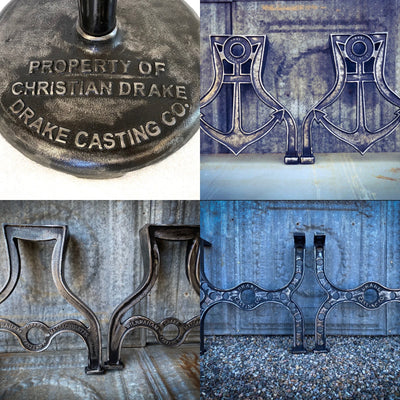
How to set metal table legs at an angle?
There are a few different ways that you can set metal table legs at an angle. One option is to use a power drill and drill a hole through the center of the leg at the desired angle. Another option is to use aangle grinder with a metal cutting disc to cut the angle.
If you're going to be using the table legs for something like a coffee table or end table, then you'll want to make sure that the legs are level with each other so that the table is stable. To do this, you can use a spirit level or a bubble level.
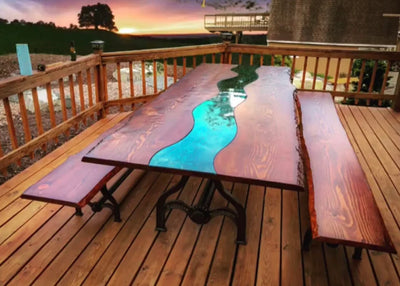
If you're using the legs for something like a dining table, then you may want the legs to be angled so that the people sitting at the table are more comfortable. For this, you'll want to make sure that the legs are angled in the same direction.
Once you've determined what kind of angle you want the legs to be at, you can start setting them up. If you're using a power drill, then you'll want to start by drilling a pilot hole through the center of the leg. Make sure that the drill bit is the same size as the screws that you're going to be using.
Once you've drilled the pilot hole, you can start screwing in the screws. Make sure that you're screwing them in straight so that the legs are level with each other.
If you're using an angle grinder, then you'll want to start by cutting a slit through the center of the leg. Be careful not to cut yourself, and make sure that you're wearing eye protection.
Once you've cut the slit, you can start angling the legs. You'll want to make sure that the legs are at the same angle so that the table is stable.
Once the legs are at the desired angle, you can start attaching them to the table. Make sure that the screws are tightened properly so that the table is sturdy.
And that's it! You've now successfully set metal table legs at an angle.
Leave a comment